Shutters require 3 width measurements and 3 height measurements per window. This guide walks you through inside mount, outside mount, depth requirements, and frame style options.
An inside mount shutter sits within the window frame. It gives the cleanest, most built-in look. Because shutters are rigid panels, the frame depth requirement is higher than for shades — and the 3×3 measuring rule is critical to get right.
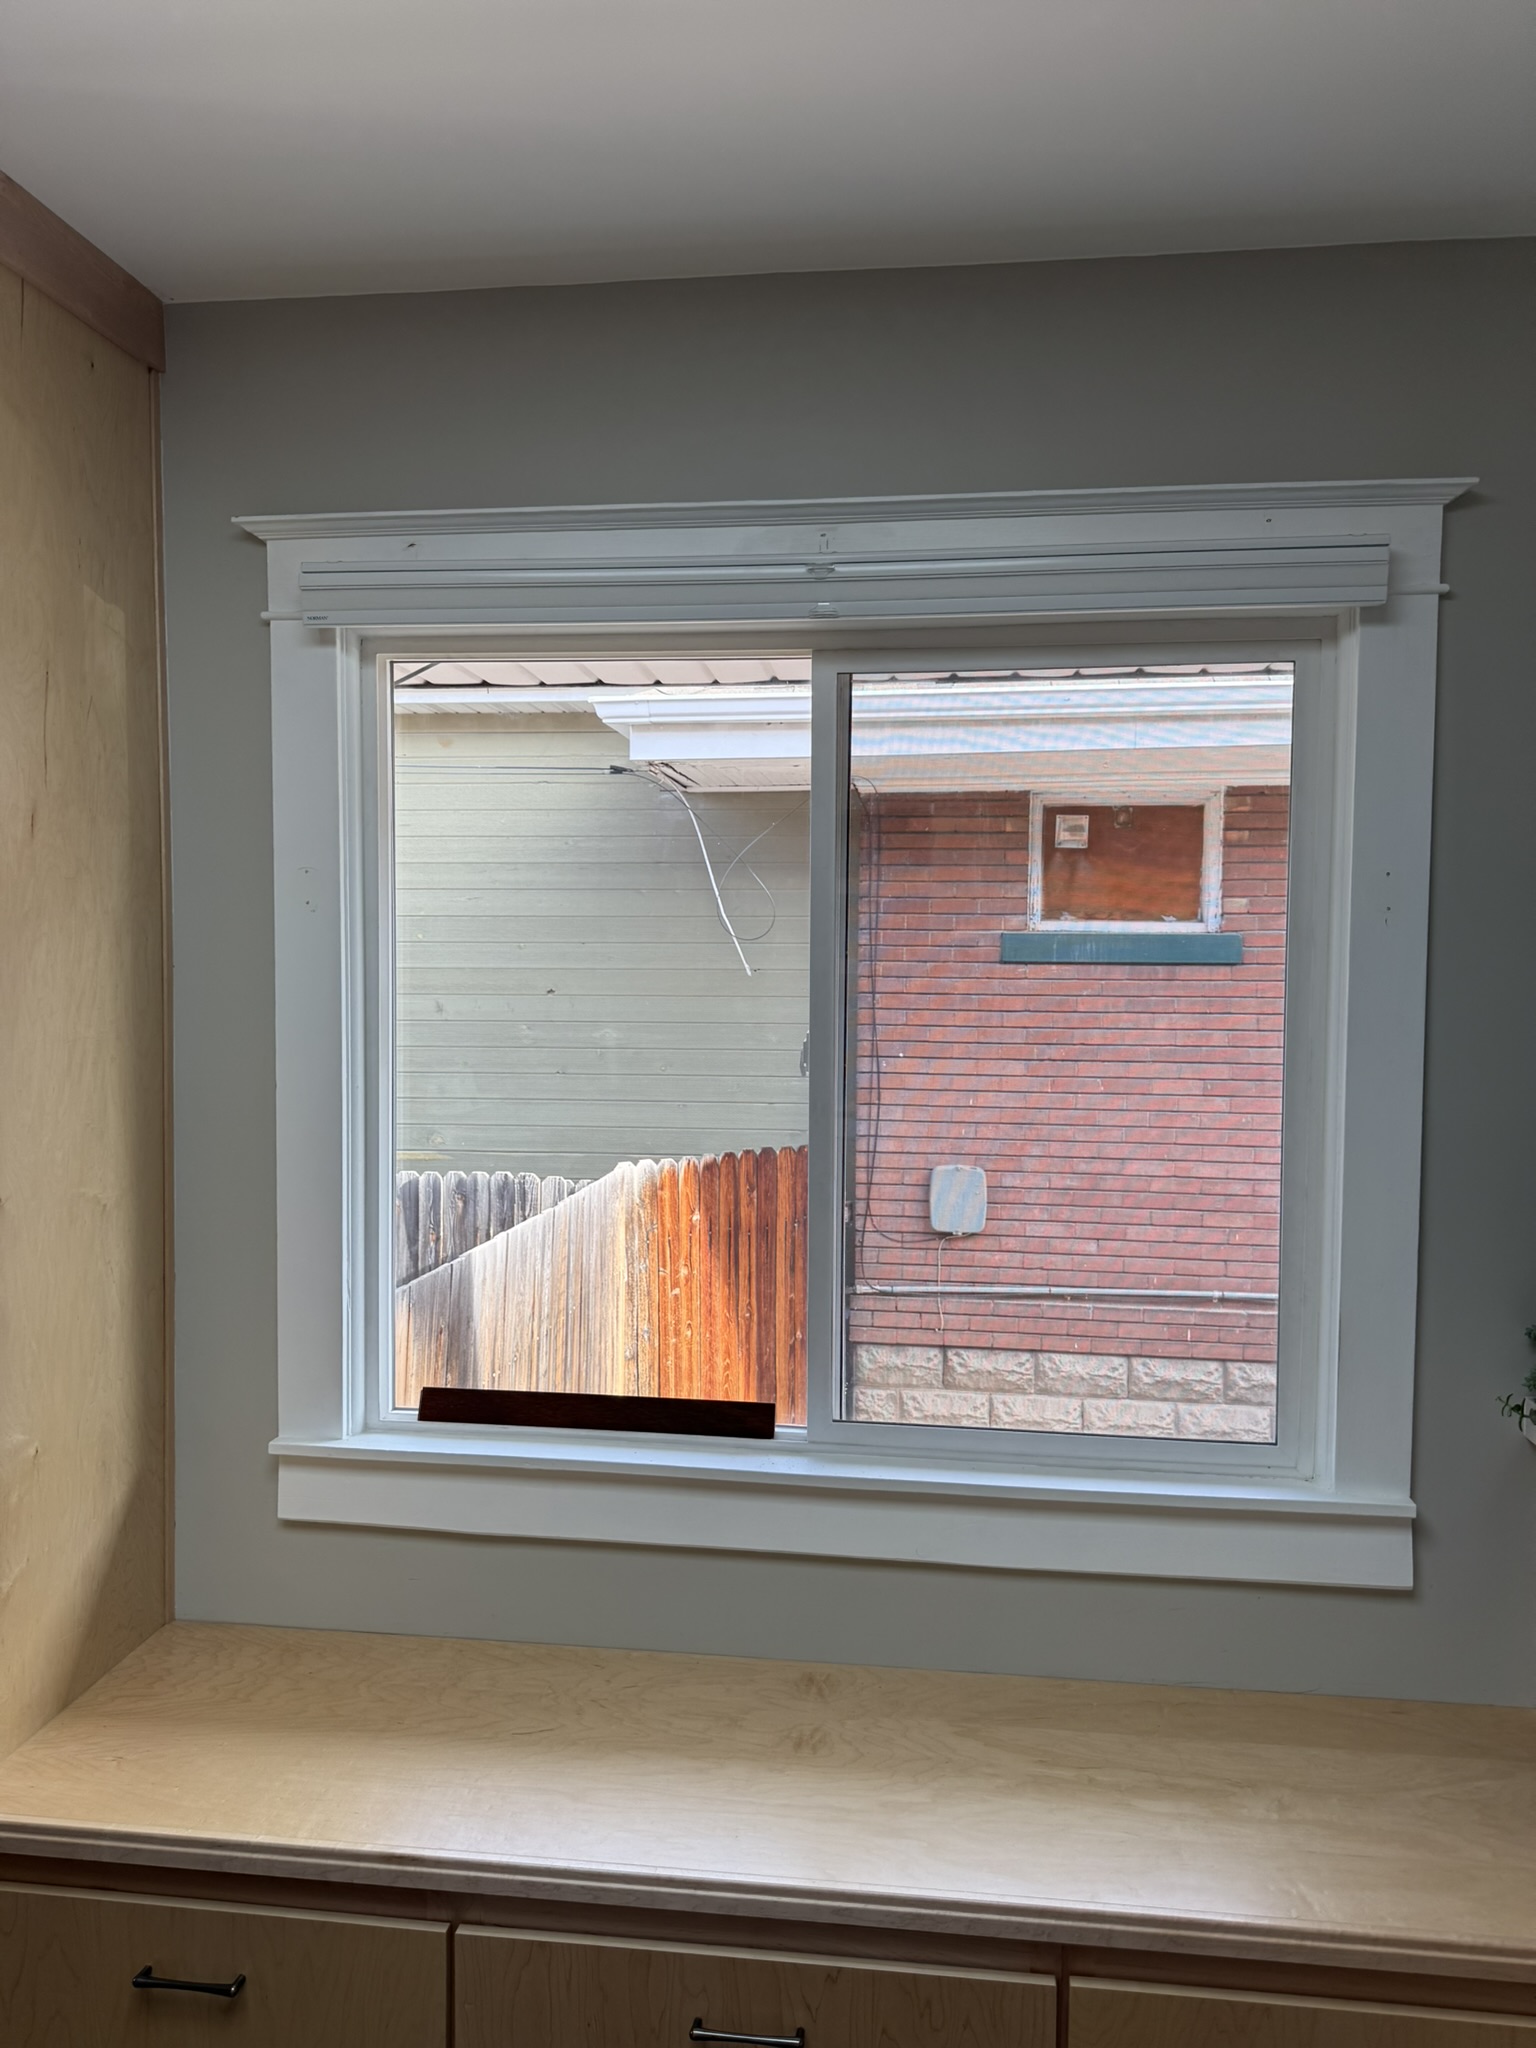
Your window frame must have at least 1-3/4 inches of unobstructed depth for an inside mount shutter. Norman recommends 2-1/2”+ for most frame styles. Measure depth from the face of the window casing straight back. Handles, cranks, locks, or sensors that project into the opening must be accounted for — the shutter panel must not contact them when open or closed.
Windows are rarely perfectly square. The opening at the top may be narrower than at the bottom. Using only one measurement and ordering to that size will result in a shutter that either doesn't fit or gaps visibly. Always take all 6 measurements and use the smallest width and smallest height.
Norman applies a deduction automatically based on your frame style so the shutter panels close and tilt without binding against the frame. You order the exact opening size — we handle the deductions.
Every shutter order includes a free in-home measuring visit. We take all 6 measurements per window, verify depth, confirm frame style, and handle the ordering. You don't need to measure anything.
An outside mount shutter is attached to the wall or face of the window casing — the frame surrounds the opening from the outside rather than sitting inside it. Outside mount is required when frame depth is insufficient for inside mount, or when you want to make a window appear larger.
You decide how much overlap to add on each side and how far above the opening to mount the top frame. A minimum of 1-1/2” overlap on each side is standard. Mounting higher can make the window look taller — we'll advise on placement during the in-home visit.
We'll check depth, assess your trim, and recommend the right approach during the free in-home visit. No guessing required.
Norman offers three shutter lines — Normandy, Woodlore, and Woodlore Plus. Your choice determines material, available colors, louver sizes, and the maximum panel width we can order. All three use the same 3×3 measuring method.
| Normandy® | Woodlore® | Woodlore® Plus | |
|---|---|---|---|
| Material | Hardwood (paint) or Phoenix wood (stain) | Composite wood + polypropylene coating | Composite frame + ABS louvers |
| Colors | 24 paint · 18 stain · 6 OSMO | 6 solid colors | 24 solid colors |
| Louver sizes | 1⅞″ · 2½″ · 3″ · 3½″ · 4½″ | 1⅞″ · 2½″ · 3″ · 3½″ · 4½″ | 1⅞″ · 2½″ · 3″ · 3½″ · 4½″ |
| Max panel height | 132″ | 120″ | 120″ |
| Divider rail required | Over 78″ height | Over 74″ height | Over 78″ height |
| InvisibleTilt™ | Yes (not 1⅞″) | Yes (not 1⅞″) | Yes (not 1⅞″) |
| Waterproof option | No | No | Yes — stainless hardware |
| Specialty shapes | Yes | Limited | Yes |
| Best for | Premium look, widest color/size range | Budget-friendly, durable everyday use | Bathrooms, high humidity, custom colors |
Each louver size has a structural maximum width per panel. Wide windows use multiple panels — we split the opening evenly for balanced proportions. Measure your opening width and use this table to understand how many panels you'll need.
| Louver Size | Normandy® max/panel | Woodlore® max/panel | Woodlore® Plus max/panel |
|---|---|---|---|
| 1⅞″ | 30″ | 24″ | 24″ |
| 2½″ | 36″ | 30″ | 36″ |
| 3″ | 36″ | 36″ | 36″ |
| 3½″ | 42″ | 36″ | 36″ |
| 4½″ | 42″ | 36″ | 36″ |
Example: your opening is 72″ wide. On Normandy with 3″ louvers, max panel is 36″ — so you need 2 panels (2 × 36″). On Woodlore with 2½″ louvers, max is 30″ — so you need 3 panels. We size panels evenly for the best look. Odd widths are rounded to the nearest 1/8″.
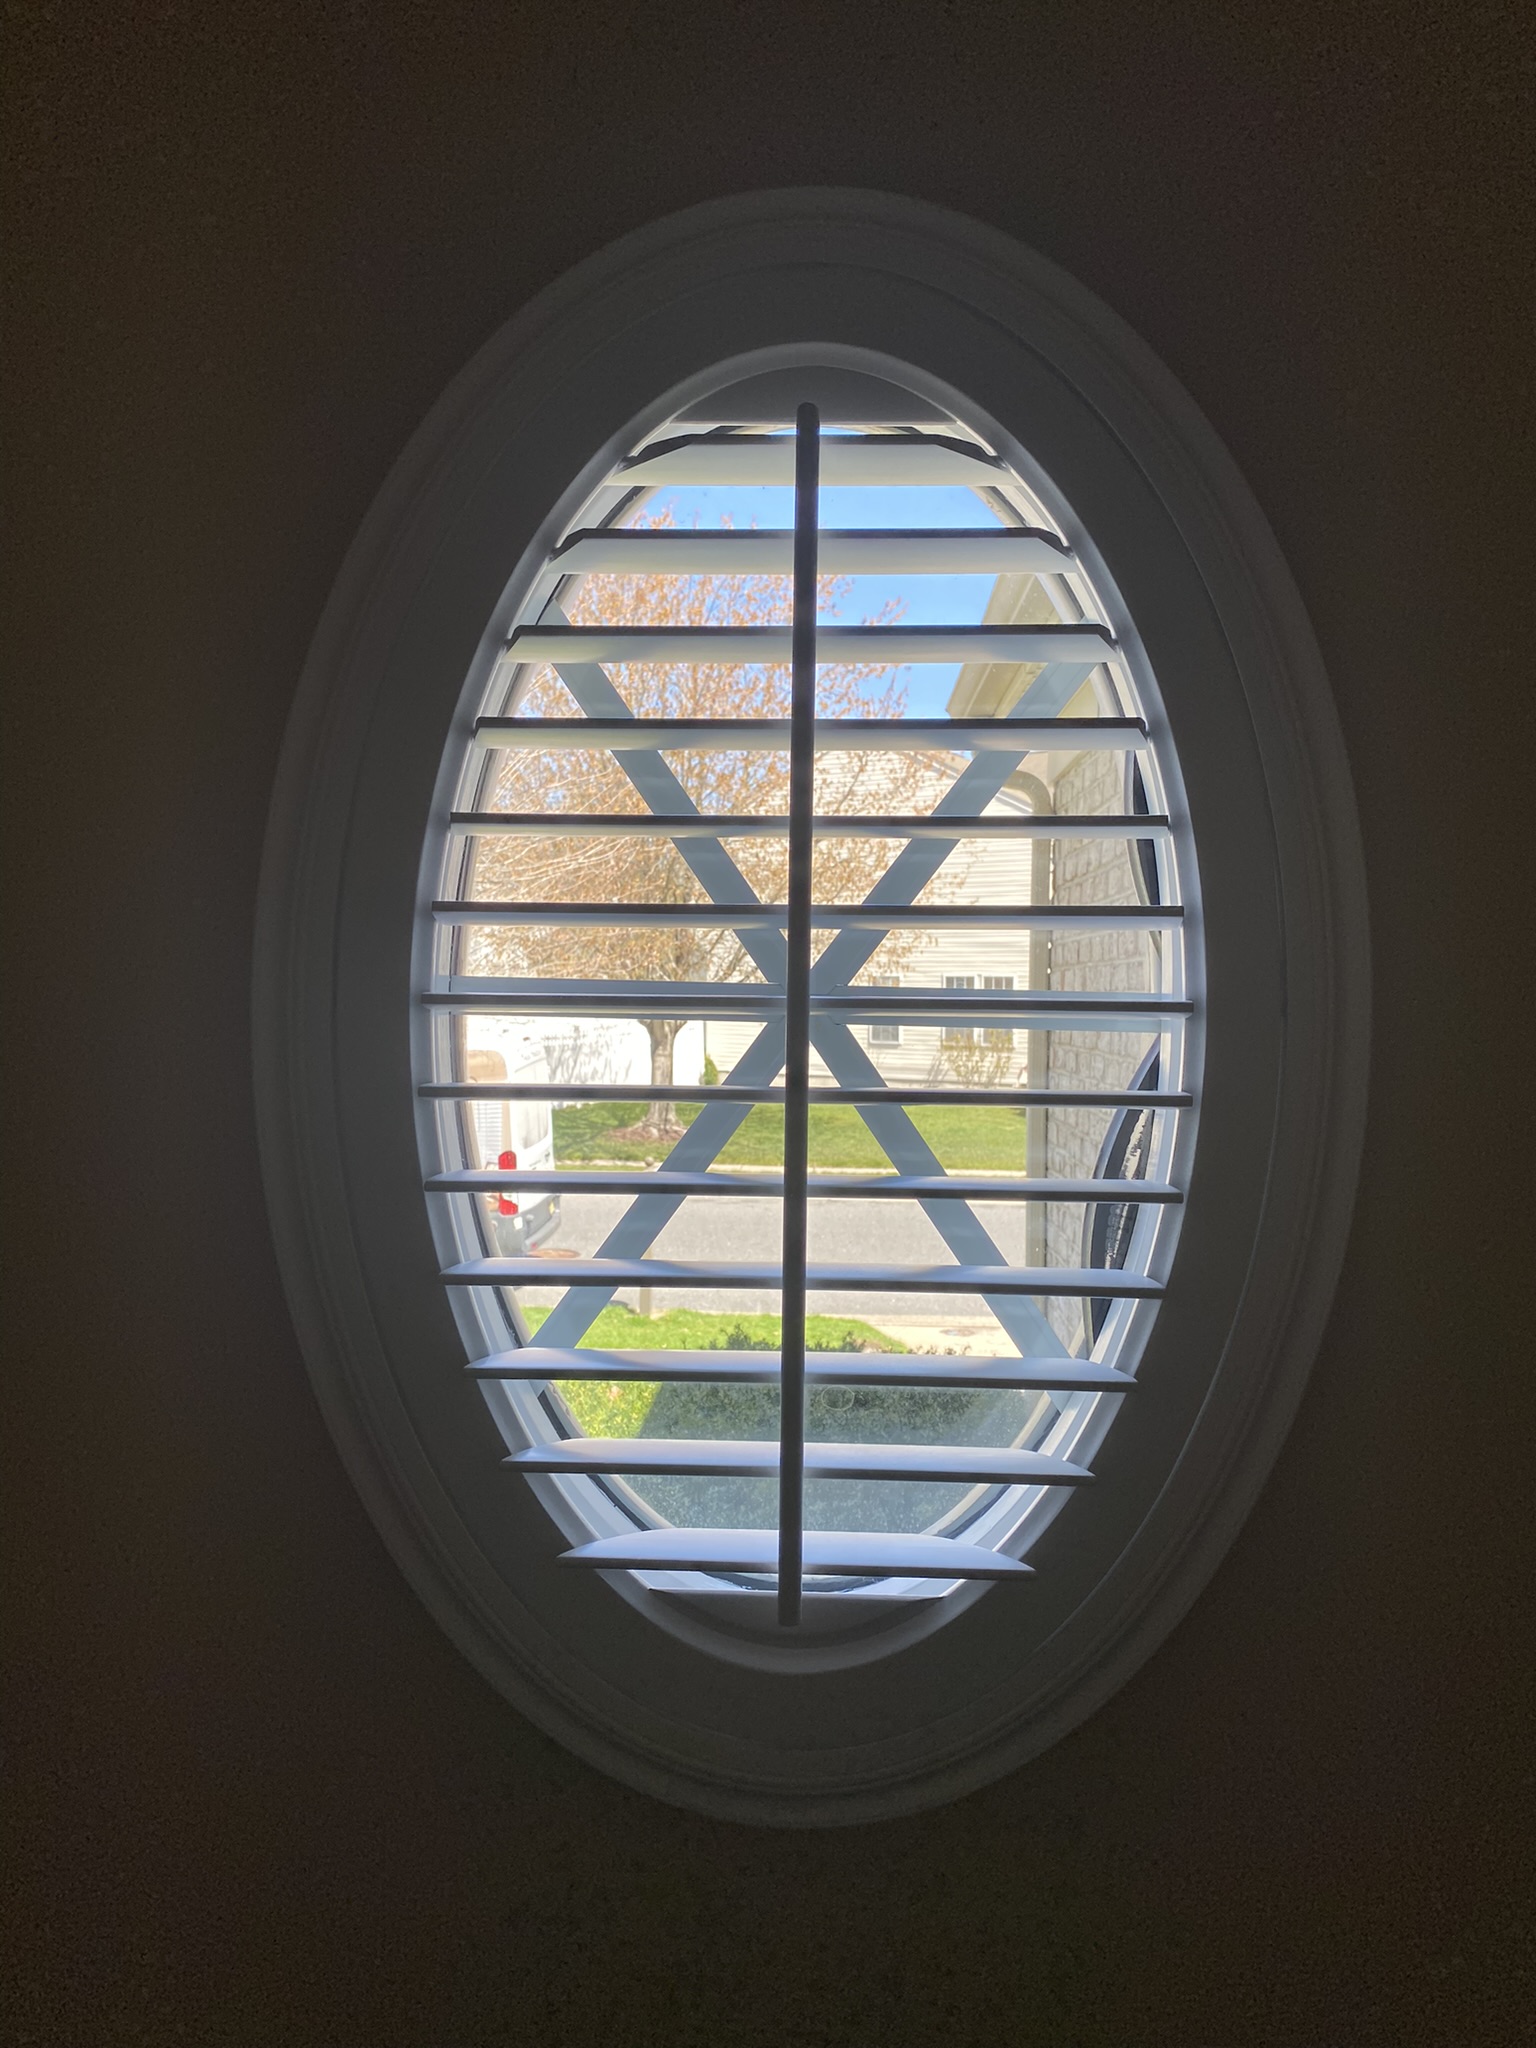
A divider rail is a horizontal structural bar that splits the shutter panel into an upper and lower section. Louvers above and below the rail can be tilted independently — open the top for light, close the bottom for privacy.
A visible rod runs vertically down the center of the panel. Tilting the rod rotates all louvers simultaneously. Simple and reliable. Available on all lines and all louver sizes.
Same function as standard tilt rod but positioned near the hinge side of the panel — out of the center sight line. Preferred when two panels meet and a centered rod would look odd.
The tilt mechanism is embedded inside the stile — no visible rod at all. Clean, minimalist look. Not available with 1⅞″ louvers. Requires 2½″ or larger louver on all three Norman lines. Surcharge applies.
| Line | Finish Type | Count | Notes |
|---|---|---|---|
| Normandy® | Paint | 24 colors | 3 colors carry a surcharge (Gray Black, Classic Black, Chateau Brown) |
| Normandy® | Stain | 18 colors | Matte Black (246) carries a surcharge. Not available with Astragal stile. |
| Normandy® | OSMO (oil-wax) | 6 colors | Natural oil-wax finish. Not available with Astragal stile. |
| Woodlore® | Solid | 6 colors | No surcharge colors |
| Woodlore® Plus | Solid | 24 colors | No surcharge colors; custom colors available on request |
Choosing between lines is easier in person. We bring louver samples, color chips, and frame profiles to every free in-home visit so you can see the actual product next to your window and trim.
Each Norman frame style has different depth requirements and visual profiles. The frame you choose affects both how the shutter looks and whether inside mount is possible for your window.
The standard frame. The L-profile rests against the window face and the wall. Clean, minimal look. Works well on most standard windows.
A Z-shaped profile that creates a small reveal at the face of the casing. Adds dimension. Popular for a slightly more architectural look.
A wider decorative frame with more visual presence. Best on larger windows where the frame becomes part of the design statement.
Designed to follow arched or specialty-shaped windows. Used when the window opening is not a standard rectangle.
Shutter panels are mounted directly to the window casing without a surrounding frame. Requires a very square, flat casing.
Used for wide openings like closets or patio doors. Panels slide or fold rather than swing open.
| Frame Style | Min Inside Mount Depth | Notes |
|---|---|---|
| L-Frame | 1-3/4” | Most common, works on nearly all standard windows |
| Z-Frame | 2-1/4” | Slight reveal at casing face; slightly more depth needed |
| Deco-Frame | 2-1/2” | Wider visual frame; requires more depth |
| Contour-Frame | 2-1/2” | Used for arched or shaped windows |
| Frameless | 1-3/8” | Requires a very level, flat casing surface |
| Outside Mount (any frame) | No depth min | Mounts to wall surface — depth irrelevant |
Casement and awning windows have cranks and handles that project inward. Even if your frame has enough depth, these obstructions may prevent the shutter from operating correctly in the closed position. We verify this on every in-home visit — don't guess.
We bring frame samples to every in-home visit and can assess depth and recommend the right style on the spot.
Common questions and problems when measuring for shutters — and how to handle them.
Always use the smallest of the three. The shutter panel must fit through the narrowest point of the opening. If the difference is more than 1/2”, the window frame may need remediation before installation — call us.
Sloped sills require a sill angle cut on the bottom frame. Note the angle and direction during measuring. We handle this during the in-home visit — it's a common situation in older homes.
If a horizontal board (stool) sits at the bottom inside the frame, the shutter frame needs a notch or filler to sit flat. Note the stool projection depth when measuring — usually 3/4” to 1-1/2”.
Norman shutters over approximately 18”–24” per panel width typically use two or more panels per opening, hinged to each other or to the frame. Wide openings can have 3, 4, or more panels. We size the panels for even visual balance.
This is normal — tape measures flex. Always measure three times per dimension and use the smallest reading. For shutter orders, Norman deducts a small amount automatically so the panel fits the opening without binding.
Yes — remove all existing blinds, shades, or shutters before measuring. Old hardware left in place will give you inaccurate depth readings and may interfere with the new frame installation.
Call or text any time — odd windows, historic frames, angled sills, arched tops. We measure and install shutters on difficult windows every week.